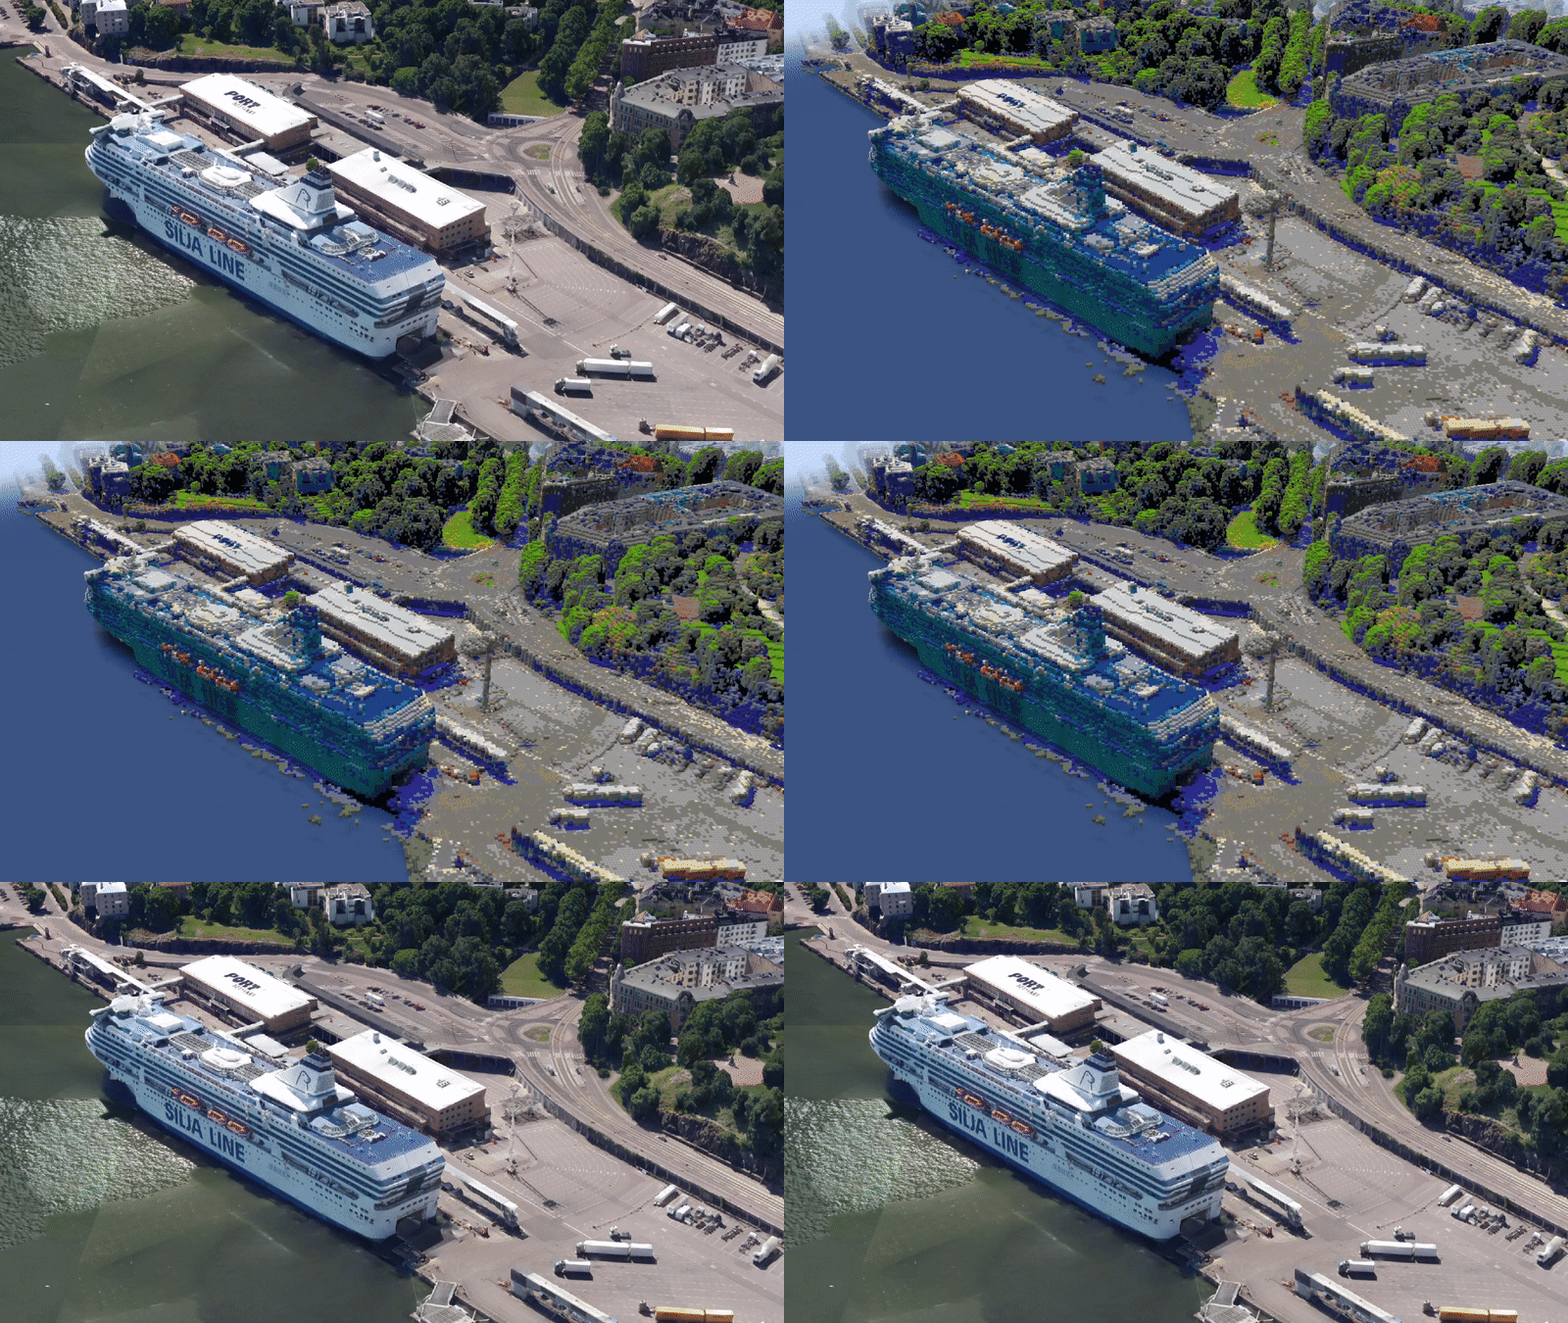
How was Helsinki3D+-Minecraft created?
The Helsinki Minecraft model released in October 2021 has attracted widespread interest including in Finland’s main newspaper. As the model is released as open data, any Minecraft player can download the model and head to explore familiar neighborhoods. The creator of this city model, Helsinki3D+-team’s Pietari Niinimäki, explains now the steps used to create it.

“Helsinki’s new Minecraft model captures the entire city as it can be seen in the 2015 reality mesh city model. The reality mesh city model has been created using aerial imaging and is a very precise 3D reflection of the entire city. In Helsinki3D+-Minecraft this reality mesh has been brought to Minecraft by transforming it into a structure of cubes, coloring each cube to match the colors of the reality mesh.
To reach this goal, I programmed an open source program, which processes the reality mesh model and automates the synergy of multiple 3rd party open source programs. The program converts the 3D city model step by step from a .obj file into a .schematic file, then finally bringing the .schematic file into a Minecraft world.
Using the program one could in theory bring any 3D model into Minecraft, but in practice the tool is specialised for Helsinki’s city models. Using it for other purposes takes technical skills and adjusting.
I will now explain step by step how the program worked, when it was used to bring the entire City of Helsinki to Minecraft. All in all, generating Minecraft Helsinki took the program 40 hours.
Helsinki’s reality mesh model is openly downloadable. It is divided into tiles in a grid formation, because it is a massive dataset. The program always first downloads the .zip file, which includes 64 grid-based 250m x 250m .obj tiles. The zip file is unpacked, and the program starts to go through the tiles one by one. Once every tile in this set has been processed, they are removed from the computer, and a new zip file is downloaded to be processed.
When the program is processing a single city model tile, the tile changes format many times. A brief overview of a city model tile’s path from a 3D model into a Minecraft structure is as follows in the figure below. This process is explained more in depth in the next sections.

From a city model to Minecraft: The working process
When the city model tile has been picked, it is converted into a point cloud using the open source tool CloudCompare. Using CloudCompare the point cloud is processed and for example the sea-areas are cropped to separate them from the terrain, so that later on the sea-areas can be replaced by Minecraft’s water blocks.
The processed point cloud is sent as input to FileToVox, which will convert the point cloud into a .vox file. A Vox file is a voxel model containing file format, that was originally created as the project file of the MagicaVoxel 3D editor. In essence a voxel is a three-dimensional pixel, a cube with a position and a color. At this moment the point cloud has been converted into cubes. Also the file is named to contain information about the tile’s position in the grid.
The already complete voxel model is opened using the MagicaVoxel tool. The program sends a keypress to MagicaVoxel, the hotkey for saving a model. MagicaVoxel is then closed. This step might seem unnecessary, as the file format hasn’t changed, and nothing has visually changed. However, in the next steps the programs used can only process the voxel model if it has first been saved using MagicaVoxel, so this step clearly changes something essential in the file’s structure.
The voxel file is now brought to be processed by the Vox2Schematic python script. Vox2Schematic is a script from the McThings python library, which is a library that contains varied tools concerning Minecraft. The script converts the Voxel file into a .schematic file, replacing the plain colored cubes with Minecraft’s blocks. The material of each block is chosen by comparing its average color with the color of the voxel file. At this moment there are 49 color choices.
The schematic file is now brought automatically into a Minecraft world using Amulet World Editor, which provides many powerful tools for manipulating Minecraft worlds. Using Amulet’s tools the program places the city model tile in the .schematic format into the correct position in the Minecraft world. Also, if the tile is known to have sea areas, they are cropped out and replaced with Minecraft’s water blocks.
The program repeats these steps for every 250m x 250m tile of the reality mesh city model, in total about 8320 times, after which the entire city model has been successfully brought to Minecraft.”
E-mail: pietari.niinimaki (a) hel.fi
Homepage: http://www.pietariniinimaki.com/


Leave a Reply